Set up Client Labels
Client Labels are a way of adding your own personalized flags to a client. This is useful to help you manage your clients and also categorize your clients' marketing purposes.
- To set up your Client Labels click on the Settings link in the side menu.

- In the Settings screen under the Clients section, click on the Manage Labels link.

- In the Labels Search screen, click on the +Add new Label button.

- In the Details for New Label screen, enter a Label Description; choose a Label Color; select Client as the Label Type then click Save as shown below:
 You can then repeat steps 3 and 4 for any more labels you wish to set up for your clients.
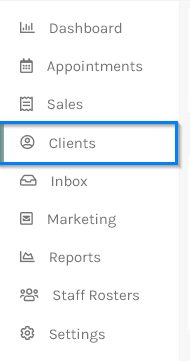
- To apply the Labels to your clients, click on the Clients option from the side menu.
- In the Client Search List, select the client you wish to apply Labels to.

- On the client Details tab, scroll down to the Labels section and tick the label(s) you wish to apply to your client. Then click the Save button. Repeat steps 6 through 8 to apply labels to as many clients as you wish.

- You can also apply Client Labels via the appointment screen. Click on an appointment, then click on the Client Labels tab on the slide-out menu. Tick the labels that you wish to apply to your client.

- The client label(s) will now show on appointments.


 You can then repeat steps 3 and 4 for any more labels you wish to set up for your clients.


